Peace be upon you
Today I will go with you in something "from my point of view" is very cool and really nice idea, Microsoft Research guys was working on something called Singularity, this project aim to do operating system that highly safe, what does it mean"Highly Safe OS"? it means that the operating system will not has memory problems that was exist before(before means current days), Buffer over flow, memory leaks and so on, if you have history with development you will know that memory mistakes is the source of all evilness (Viruses and Worms) every evil thing depend on some kind of problem in the operating system or some application.
Now What Microsoft research guys have done is very cool, they made Operating System that uses .NET Framework as base for it, they did everything run above the framework, even the hardware drivers it run above the .NET framework, as they said before 95% of the Kernel is written in C#, 3% C/C++, 2% Assembly.
this Operating System "Singularity" make things run more safe, if this idea works out, in near future writing a virus will need lots of work and real genius, because being above the .NET framework means that the assembly "Application" that is running will have certain permissions and can't be just broken like what happen now, some how it will be hard to be hacked, it doesn't mean that all Operating System will be fully safe or it will not have memory problems, it will just prevent the memory problems from happen, it means that you will not have crashes "it will be very rare", now after this long introduction let us get our hands dirty with some work.
Required tools to have Singularity OS working
first you have to have some tools let us sort it,
- Microsoft Debugging Tools for Windows
- Microsoft Virtual PC
- Dot NET framework 1.1
Building Singularity OS
First of all install .NET framework 1.1


After unzipping the Downloaded file from codeplex "Please be sure to put the files in folder without any spaces in its name", click start-> Run
write"cmd" then press Enter


press enter again when you see this stuff show up on the screen

After that you will have a shortcut on your desktop for the RDK

After that right click on "My computer" -> click "Properties" -> click on "Advanced" tab -> click on "Environment Variables"
in the "System Variables" click on "New", in the "Variable Name" enter "SINGULARITY_ROOT" and in the value write "%Path where you unzip the file%\base"

double click on the "Singularity RDK 1.1" icon on your desktop, now you have command line window that is ready to receive commands and prepared for building the Singularity OS

write this commands in the command window
cd buildmsb /t:build ..\Distro\World.proj"world.proj" as described in the documentation has everything in the project, which means that you will build all the code, if you want to do something quick, use Tiny.proj

This operation may take lots of time, on my machine it took 50 minutes

after that in the last few lines, you will have the path of the .iso file "bootable" written in the log file
the log file name is written at the end of the screen log, when you open the log with notepad or what ever you use, search for ".iso"

Here is the files, this image is ready to be used and burnt on CD, to start it on real machine
Preparing the Loopback adapter
We need the Loopback adapter to allow the Microsoft Virtual PC to connect with the Real PC, in our case we need it because we will use the Network boot to start up the Singularity.

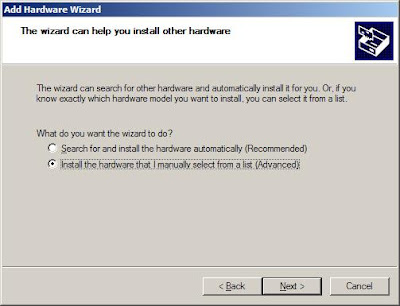
Go to control panel and double click on "Add Hardware"
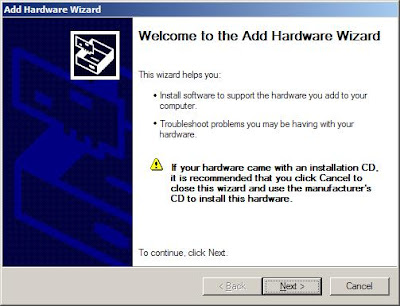
Welcome screen, just click on Next
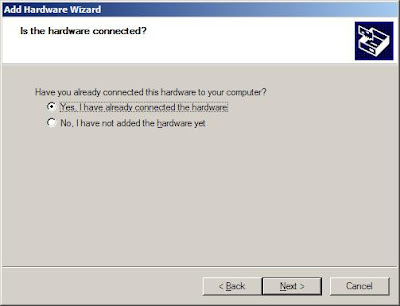
Select "Yes, I have connected my hardware" and press Next
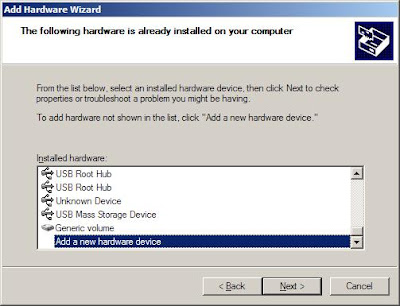
at the bottom of the list select "Add a new hardware device" and press Next
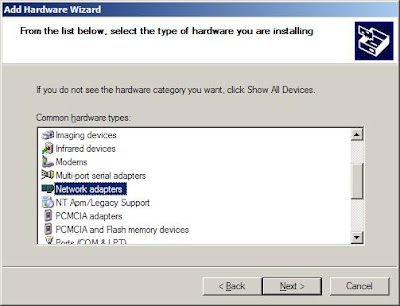
Select "Network Adapters" from the categories list and press Next
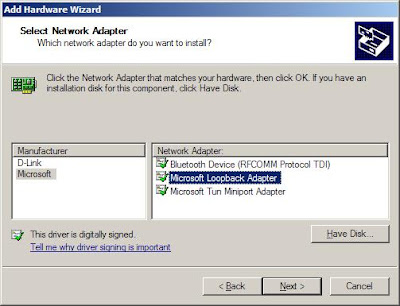
From the left menu select "Microsoft" and from the right list Select "Microsoft Loopback Adapter" and press Next
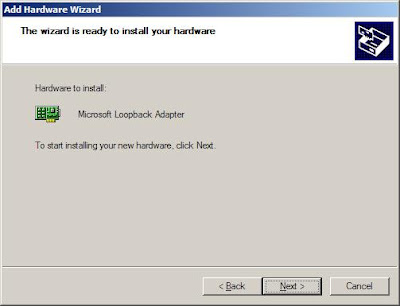
Press"Next"
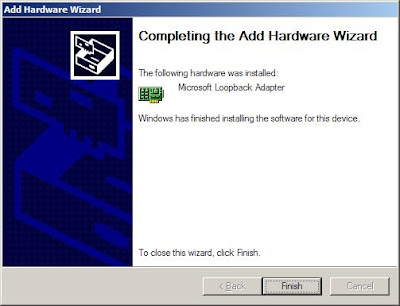
Now you have the loopback adapter and ready to be consumed

Now you have the new connection appears on "Network Connections"
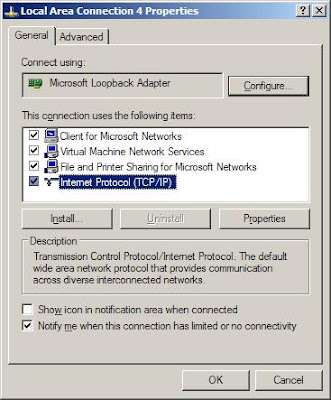
Select properties of "Loopback adapter connection" and select "Internet Protocol" and press "Properties"
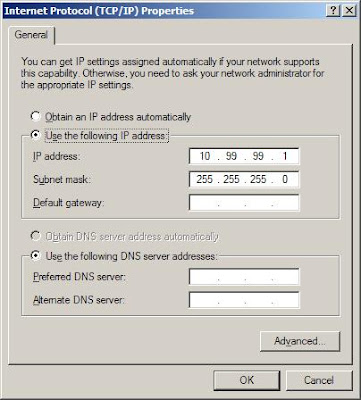
Enter the IP address "10.99.99.1" and the network mask is "255.255.255.0"
Preparing the Virtual PC
Press"New"
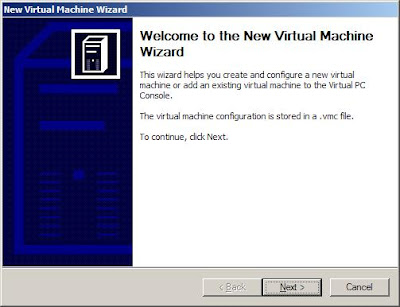
Welcome Screen Just press "Next"
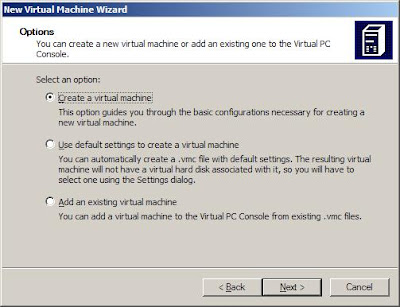
Select "Create a virtual machine" and press Next
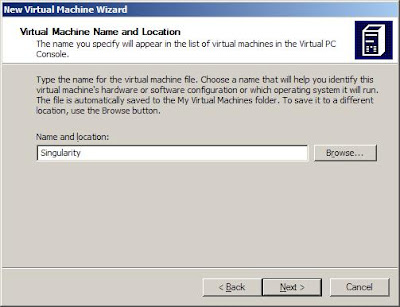
Enter the Machine name
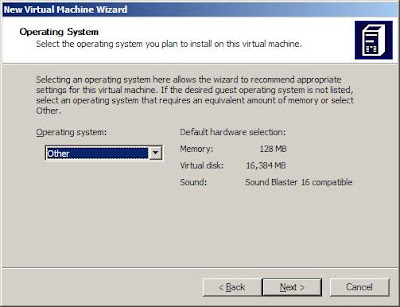
Select the type "Other",
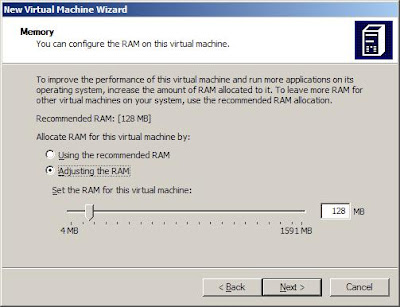
Select RAM size needed, I don't think we will need more than what is allocated as recommended
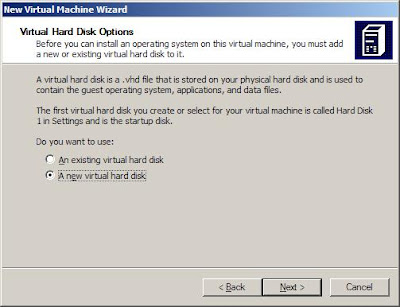
Select "new Virtual hard disk" and press "Next"
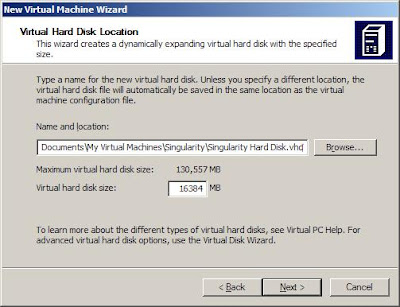
select the path and the name of the Virtual PC hard disk file name
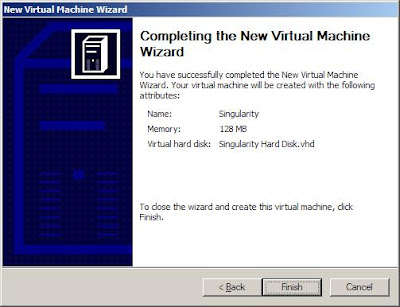
press finish.
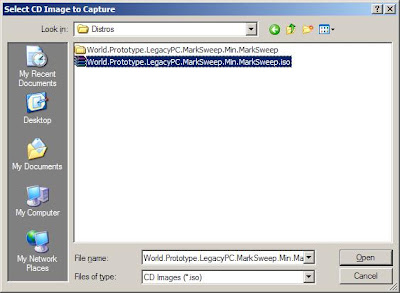
from the Virtual PC, click on "CD" Menu and click on "Capture ISO image"
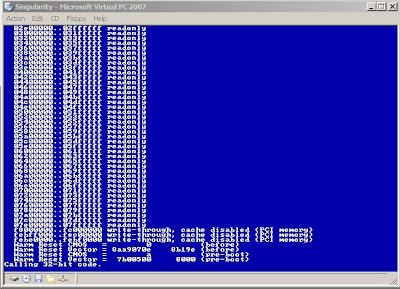
after that the system will start as you can see, but I faced some problem with the keyboard, it wasn't working, I think there is a problem, or something wrong I have done :D, but it will work when I boot from the network, wait and I will show you.
Preparing for booting and debugging the system
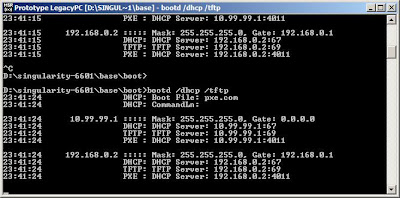
open "Singularity RDK 1.1" from your desktop, enter this commands
cd bootbootd /dhcp /tftpthis command open port and do some kind of network boot,
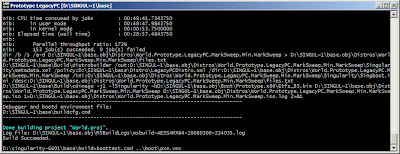
open anther "Singularity RDK 1.1" and write this commands
cd buildboottest ..\boot\pxe.vmcthe last command loads the floppy disk image, all what it does is load the operating system from the network from the ip "10.99.99.1" that's why we setup the loopback adapter
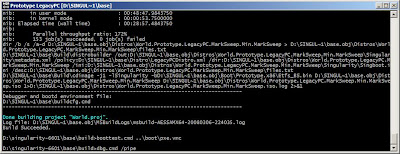
In this snapshot I tried to open the WinDbg but it didn't work, because the command can't find windbg.exe
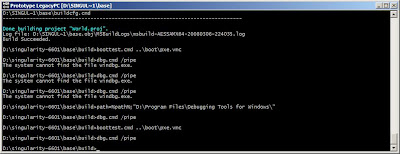
Here I have added the path of the Windbg to the system path , the I tried again using the this command
cd builddbg /pipe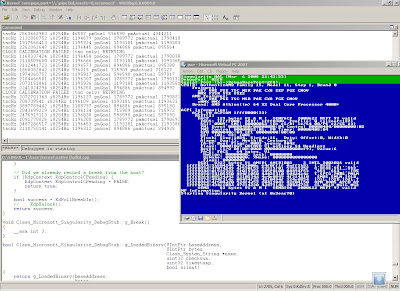
after that the debugger started and as you can see there is 2 parts, part for the debug strings, this strings are coming out as trace log, down there the code where you are working on, use the command "break" in the "singularity" windows
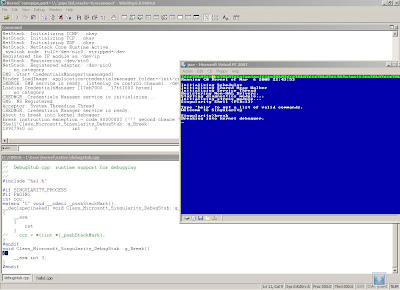
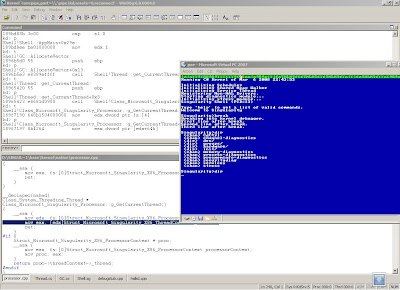
when you use "Break" command, it cause a break point in the debugger, you can use this debugger to navigate through everything, stack, memory, current registers and so on
at this point, I wanted to show, how to start his stuff to be able to add our code, the code that i am planing to add and I hope that I success in that is adding Arabic Support to output screen, please pray for me, thanks for your time, it was really exhausting to write such topic, it takes lot of time, anyways it is good as long as you read it, thanks for your time
I forgot to tell you about the Network boot loading,
open the "Singularity RDK 1.1"
write this command
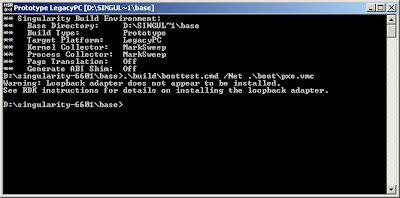
.\built\boottest.cmd /Net .\boot\pxe.vmchere is the result in the command window, it will be pop anther window
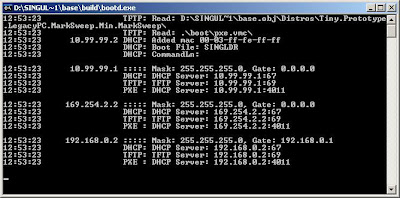
here is the window, it is preparing and listening to the upcoming requests
here it is, now it is feeding the Virtual machine with booting needs,
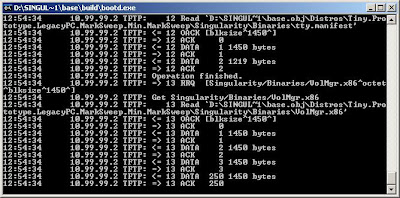
P.S: in this network booting, I have used the Tiny build of the project
BR
Ahmed Essam


